2.1 创建项目
2.1.1 创建Maven工程
使用idea工具创建一个maven工程,该工程为普通的java工程即可


2.1.2 添加SpringBoot的起步依赖
看到这里很多同学会有疑惑,前面说传统开发的问题之一就是依赖管理混乱,怎么这里我们还需要管理依赖呢?难道Spring Boot不帮我们管理吗?
别着急,现在我们的项目与Spring Boot还没有什么关联。Spring Boot提供了一个名为spring-boot-starter-parent的工程,里面已经对各种常用依赖(并非全部)的版本进行了管理,我们的项目需要以这个项目为父工程,这样我们就不用操心依赖的版本问题了,需要什么依赖,直接引入坐标即可!
SpringBoot要求,项目要继承SpringBoot的起步依赖spring-boot-starter-parent
2.1.2.1 添加父工程坐标
1
2
3
4
5
| <parent>
<groupId>org.springframework.boot</groupId>
<artifactId>spring-boot-starter-parent</artifactId>
<version>2.1.5.RELEASE</version>
</parent>
|
2.1.2.2 添加web启动器
为了让Spring Boot帮我们完成各种自动配置,我们必须引入Spring Boot提供的自动配置依赖,我们称为 启动器。因为我们是web项目,这里我们引入web启动器,在 pom.xml 文件中加入如下依赖:
1
2
3
4
5
6
| <dependencies>
<dependency>
<groupId>org.springframework.boot</groupId>
<artifactId>spring-boot-starter-web</artifactId>
</dependency>
</dependencies>
|
需要注意的是,我们并没有在这里指定版本信息。因为Spring Boot的父工程已经对版本进行了管理了。
这个时候,我们会发现项目中多出了大量的依赖。
那些依赖都是Spring Boot根据 spring-boot-starter-web 这个依赖自动引入的,而且所有的版本都已经管理好,不会出现冲突。
2.1.2.2 管理jdk版本
如果我们想要修改Spring Boot项目的jdk版本,只需要简单的添加以下属性即可,如果没有需求,则不添加。同样的在 pom.xml 文件中添加如下:
1
2
3
| <properties>
<java.version>1.8</java.version>
</properties>
|
2.1.3 编写SpringBoot引导类
要通过SpringBoot提供的引导类起步SpringBoot才可以进行访问
1
2
3
4
5
6
7
8
9
10
11
| package com.itheima;
import org.springframework.boot.SpringApplication;
import org.springframework.boot.autoconfigure.SpringBootApplication;
@SpringBootApplication
public class MySpringBootApplication {
public static void main(String[] args) {
SpringApplication.run(MySpringBootApplication.class);
}
}
|
2.1.4 编写Controller
在引导类MySpringBootApplication同级包或者子级包中创建QuickStartController
1
2
3
4
5
6
7
8
9
10
11
12
13
14
15
16
17
| package com.itheima.controller;
import org.springframework.stereotype.Controller;
import org.springframework.web.bind.annotation.RequestMapping;
import org.springframework.web.bind.annotation.ResponseBody;
@Controller
public class QuickStartController {
@RequestMapping("/quick")
@ResponseBody
public String quick(){
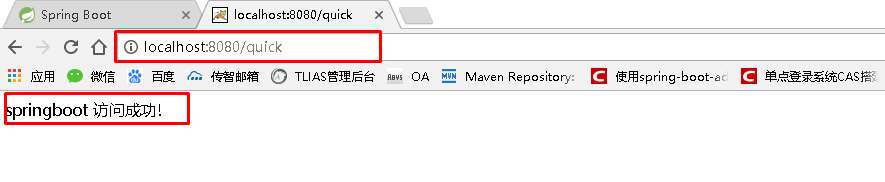
return "springboot 访问成功!";
}
}
|
2.1.5 测试
执行SpringBoot起步类的主方法,控制台打印日志如下:
1
2
3
4
5
6
7
8
9
10
11
12
13
14
| . ____ _ __ _ _
/\\ / ___'_ __ _ _(_)_ __ __ _ \ \ \ \
( ( )\___ | '_ | '_| | '_ \/ _` | \ \ \ \
\\/ ___)| |_)| | | | | || (_| | ) ) ) )
' |____| .__|_| |_|_| |_\__, | / / / /
=========|_|==============|___/=/_/_/_/
:: Spring Boot :: (v2.1.5.RELEASE)
2018-05-08 14:29:59.714 INFO 5672 --- [ main] com.itheima.MySpringBootApplication : Starting MySpringBootApplication on DESKTOP-RRUNFUH with PID 5672 (C:\Users\muzimoo\IdeaProjects\IdeaTest\springboot_quick\target\classes started by muzimoo in C:\Users\muzimoo\IdeaProjects\IdeaTest)
... ... ...
o.s.w.s.handler.SimpleUrlHandlerMapping : Mapped URL path [/**] onto handler of type [class org.springframework.web.servlet.resource.ResourceHttpRequestHandler]
2018-05-08 14:30:03.126 INFO 5672 --- [ main] o.s.j.e.a.AnnotationMBeanExporter : Registering beans for JMX exposure on startup
2018-05-08 14:30:03.196 INFO 5672 --- [ main] o.s.b.w.embedded.tomcat.TomcatWebServer : Tomcat started on port(s): 8080 (http) with context path ''
2018-05-08 14:30:03.206 INFO 5672 --- [ main] com.itheima.MySpringBootApplication : Started MySpringBootApplication in 4.252 seconds (JVM running for 5.583)
|
通过日志发现,Tomcat started on port(s): 8080 (http) with context path ''
tomcat已经起步,端口监听8080,web应用的虚拟工程名称为空
打开浏览器访问url地址为:http://localhost:8080/quick
2.2 SpringBoot工程热部署
我们在开发中反复修改类、页面等资源,每次修改后都是需要重新启动才生效,这样每次启动都很麻烦,浪费了大量的时间,我们可以在修改代码后不重启就能生效,在 pom.xml 中添加如下配置就可以实现这样的功能,我们称之为热部署。
1
2
3
4
5
|
<dependency>
<groupId>org.springframework.boot</groupId>
<artifactId>spring-boot-devtools</artifactId>
</dependency>
|
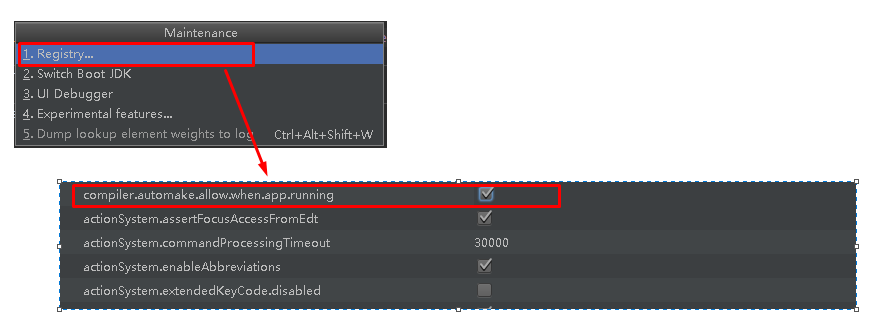
注意:IDEA进行SpringBoot热部署失败原因
出现这种情况,并不是热部署配置问题,其根本原因是因为Intellij IEDA默认情况下不会自动编译,需要对IDEA进行自动编译的设置,如下:
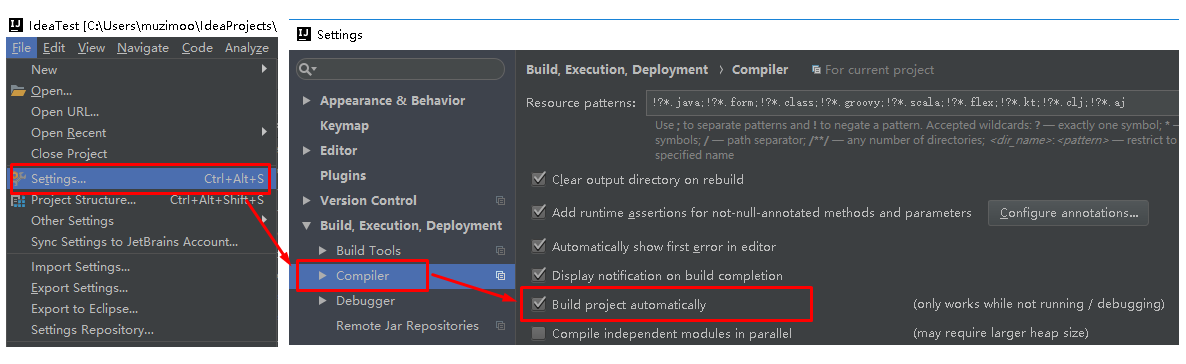
然后 Shift+Ctrl+Alt+/,选择Registry
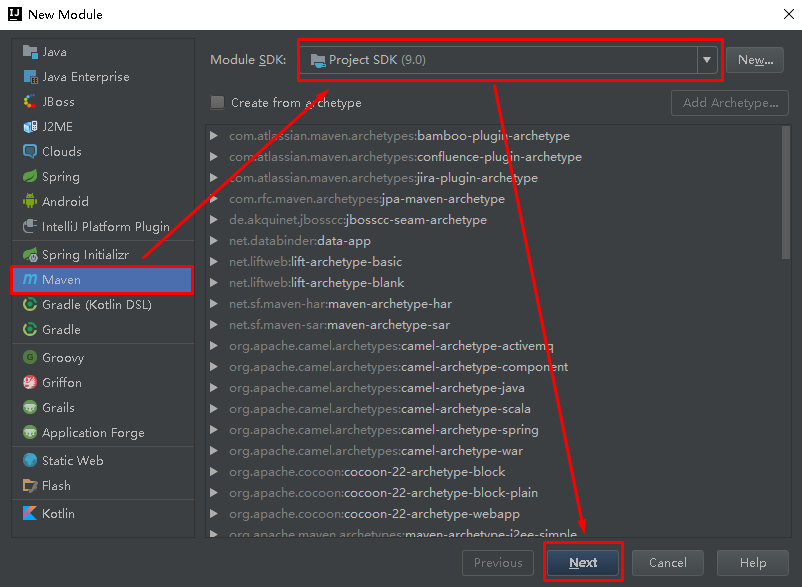
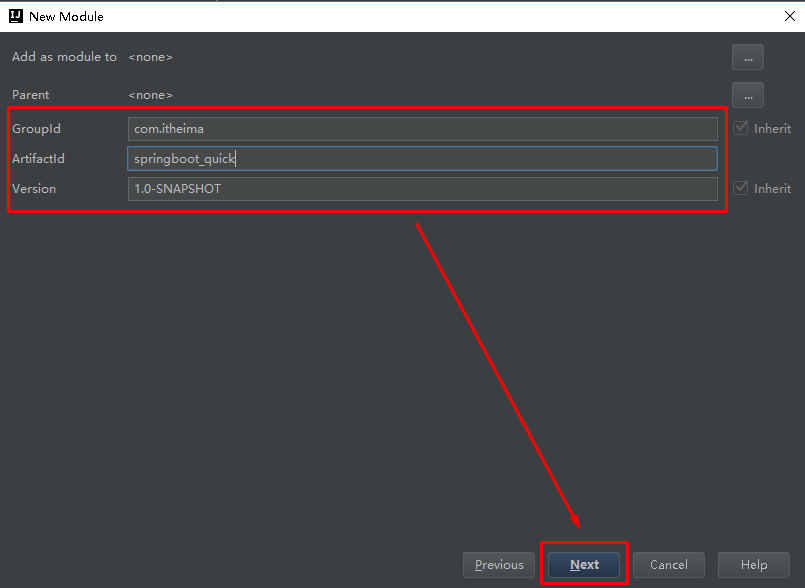
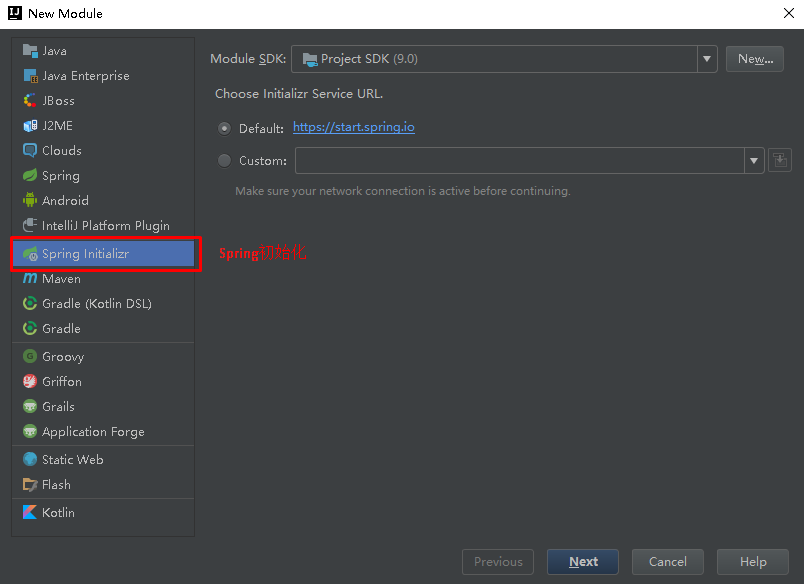
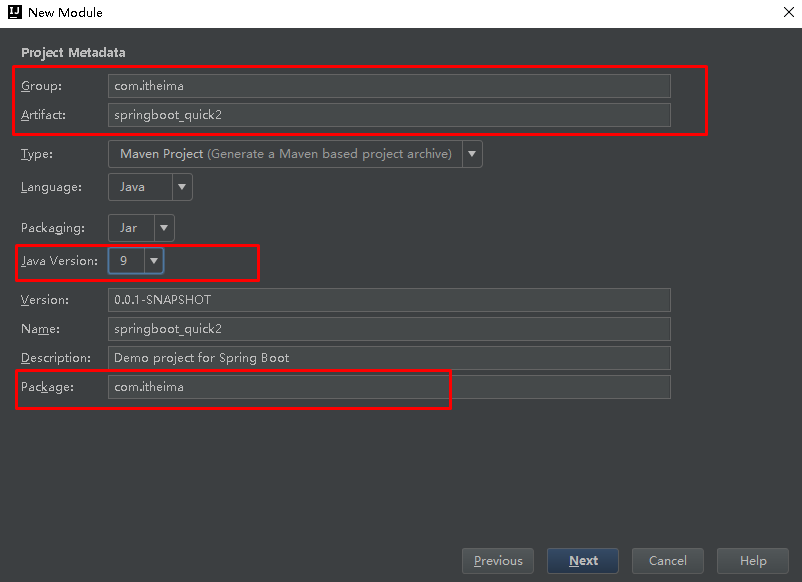
2.3 使用idea快速创建SpringBoot项目
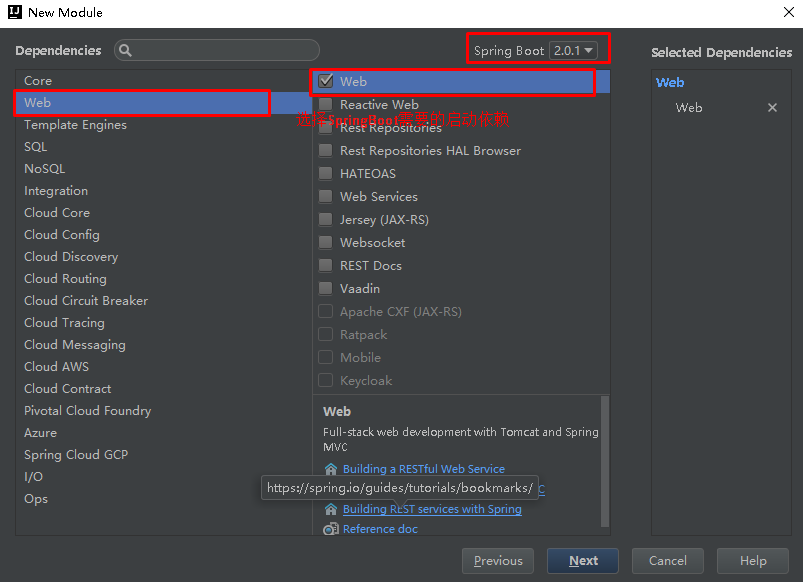
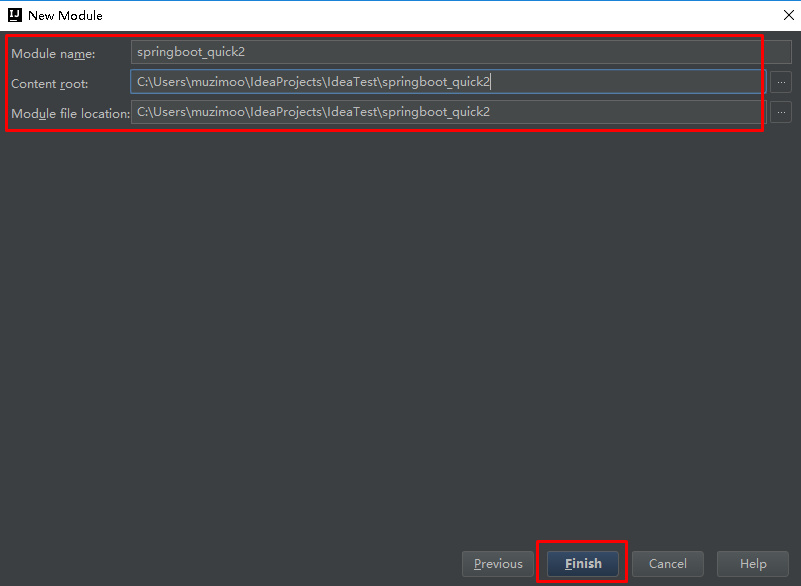
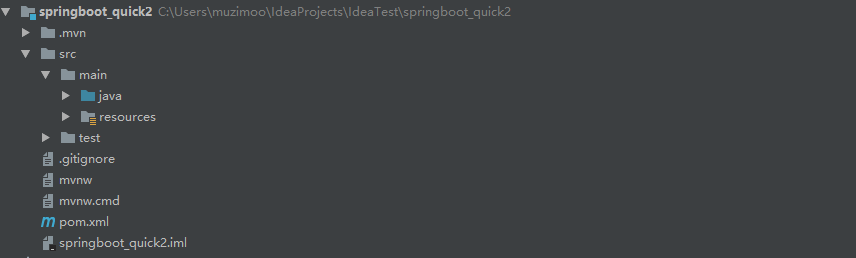
通过idea快速创建的SpringBoot项目的pom.xml中已经导入了我们选择的web的起步依赖的坐标
1
2
3
4
5
6
7
8
9
10
11
12
13
14
15
16
17
18
19
20
21
22
23
24
25
26
27
28
29
30
31
32
33
34
35
36
37
38
39
40
41
42
43
44
45
46
47
48
| <?xml version="1.0" encoding="UTF-8"?>
<project xmlns="http://maven.apache.org/POM/4.0.0" xmlns:xsi="http://www.w3.org/2001/XMLSchema-instance"
xsi:schemaLocation="http://maven.apache.org/POM/4.0.0 http://maven.apache.org/xsd/maven-4.0.0.xsd">
<modelVersion>4.0.0</modelVersion>
<groupId>com.itheima</groupId>
<artifactId>springboot_quick2</artifactId>
<version>0.0.1-SNAPSHOT</version>
<packaging>jar</packaging>
<name>springboot_quick2</name>
<description>Demo project for Spring Boot</description>
<parent>
<groupId>org.springframework.boot</groupId>
<artifactId>spring-boot-starter-parent</artifactId>
<version>2.0.1.RELEASE</version>
<relativePath/>
</parent>
<properties>
<project.build.sourceEncoding>UTF-8</project.build.sourceEncoding>
<project.reporting.outputEncoding>UTF-8</project.reporting.outputEncoding>
<java.version>9</java.version>
</properties>
<dependencies>
<dependency>
<groupId>org.springframework.boot</groupId>
<artifactId>spring-boot-starter-web</artifactId>
</dependency>
<dependency>
<groupId>org.springframework.boot</groupId>
<artifactId>spring-boot-starter-test</artifactId>
<scope>test</scope>
</dependency>
</dependencies>
<build>
<plugins>
<plugin>
<groupId>org.springframework.boot</groupId>
<artifactId>spring-boot-maven-plugin</artifactId>
</plugin>
</plugins>
</build>
</project>
|
可以使用快速入门的方式创建Controller进行访问,此处不再赘述