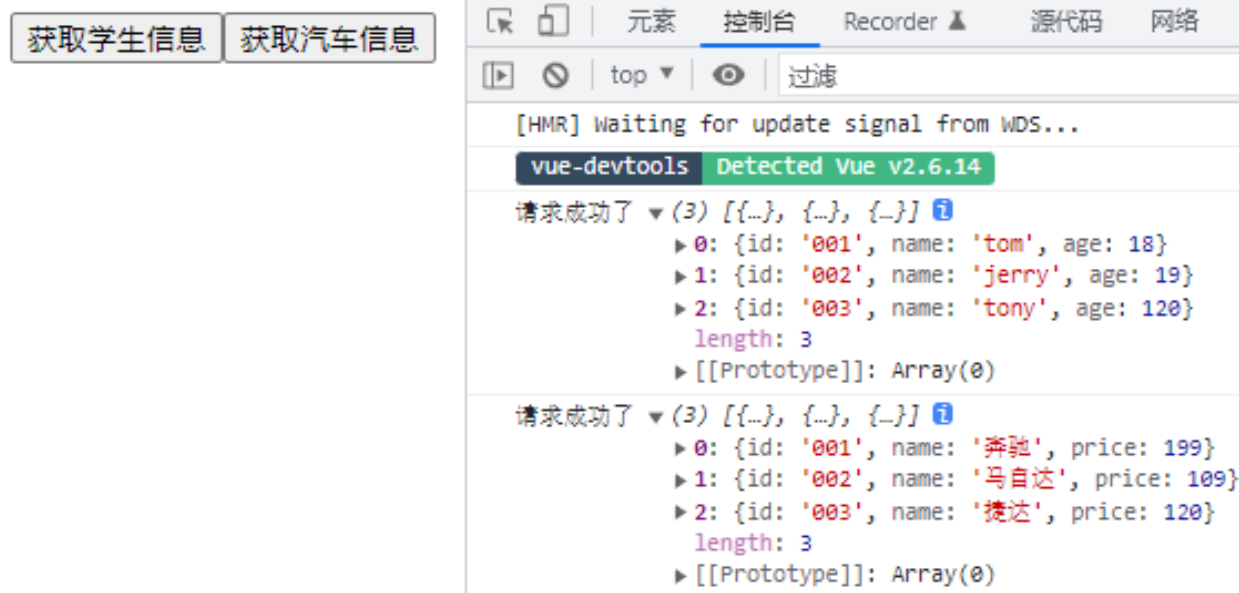
1.Vue 脚手架配置代理
本案例需要下载 axios 库npm install axios
配置参考文档 Vue-Cli devServer.proxy
vue.config.js 是一个可选的配置文件,如果项目的 (和 package.json 同级的) 根目录中存在这个文件,那么它会被 @vue/cli-service 自动加载。你也可以使用 package.json 中的vue字段,但是注意这种写法需要你严格遵照 JSON 的格式来写
利用服务器之间访问不会有跨域,在中间开启一个服务器,端口号和项目端口号一样
1.1 方法一
在 vue.config.js 中添加如下配置:
1
2
3
| devServer:{
proxy:"http://localhost:5000"
}
|
说明:
- 优点:配置简单,请求资源时直接发给前端(8080)即可。
- 缺点:不能配置多个代理,不能灵活的控制请求是否走代理。
- 工作方式:若按照上述配置代理,当请求了前端不存在的资源时,那么该请求会转发给服务器 (优先匹配前端静态资源)
1.2 方法二
编写vue.config.js配置具体代理规则:
1
2
3
4
5
6
7
8
9
10
11
12
13
14
15
16
17
18
19
20
21
22
| module.exports = {
devServer: {
proxy: {
'/api1': {
target: 'http://localhost:5000',
changeOrigin: true,
ws: true,
pathRewrite: {'^/api1': ''}
},
'/api2': {
target: 'http://localhost:5001',
changeOrigin: true,
pathRewrite: {'^/api2': ''}
}
}
}
}
|
说明:
- 优点:可以配置多个代理,且可以灵活的控制请求是否走代理。
- 缺点:配置略微繁琐,请求资源时必须加前缀。
src/App.vue
1
2
3
4
5
6
7
8
9
10
11
12
13
14
15
16
17
18
19
20
21
22
23
24
25
26
27
28
29
30
31
32
33
34
35
| <template>
<div>
<button @click="getStudents">获取学生信息</button>
<button @click="getCars">获取汽车信息</button>
</div>
</template>
<script>
import axios from 'axios'
export default {
name:'App',
methods: {
getStudents() {
axios.get('http://localhost:8080/students').then(
response => {
console.log('请求成功了',response.data)
},
error => {
console.log('请求失败了',error.message)
}
)
},
getCars() {
axios.get('http://localhost:8080/demo/cars').then(
response => {
console.log('请求成功了',response.data)
},
error => {
console.log('请求失败了',error.message)
}
)
}
},
}
</script>
|

