1、环境准备 注意:当前Linux为CentOS-6.10-x86_64-bin-DVD1.iso
界面:使用图形界面
内存:4GB
硬盘:20GB
连接:SecureCRT,上传文件(rz命令)需要安装:yum -y install lrzsz
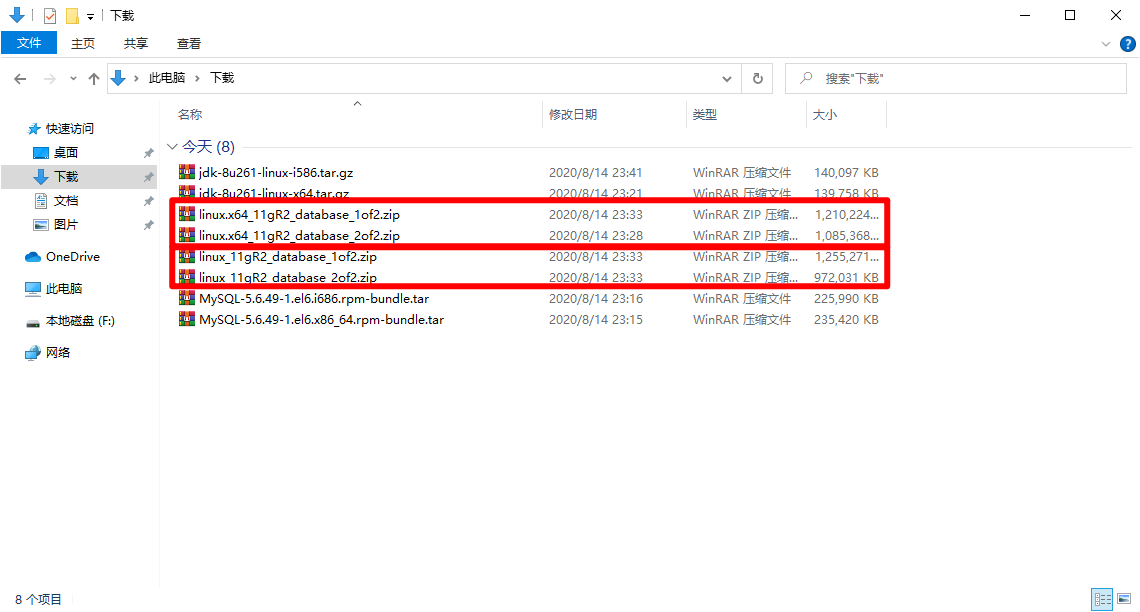
2、下载程序 32 位需要下载(需要登录账号):
http://download.oracle.com/otn/linux/oracle11g/R2/linux_11gR2_database_1of2.zip
http://download.oracle.com/otn/linux/oracle11g/R2/linux_11gR2_database_2of2.zip
64 位需要下载(需要登录账号):
http://download.oracle.com/otn/linux/oracle11g/R2/linux.x64_11gR2_database_1of2.zip
http://download.oracle.com/otn/linux/oracle11g/R2/linux.x64_11gR2_database_2of2.zip
3、解压程序
解压
unzip linux.x64_11gR2_database_1of2.zip
unzip linux.x64_11gR2_database_2of2.zip
注意:unzip可能会提示没有这个命令,那就需要我们安装一下了
yum -y install zip
yum -y install unzip
4、移动软件 1 2 [root@caochenlei ~]# mkdir -p /usr/local/oracle
5、域名映射 查看当前系统主机名:
1
2
[root@caochenlei ~]# hostname
查看当前系统的IP地址:
1 [root@caochenlei ~]# ifconfig
修改系统的映射文件:
1 [root@caochenlei ~]# vi /etc/hosts
在末尾添加以下内容:
1 2 3 4 127.0.0.1 localhost localhost.localdomain localhost4 localhost4.localdomain4
6、关闭selinux 1 [root@caochenlei ~]# vi /etc/selinux/config
设置SELINUX=disabled
临时关闭一下selinux:
1 [root@caochenlei ~]# setenforce 0
7、关闭防火墙 1 2 [root@caochenlei ~]# service iptables stop
8、安装依赖包 1 [root@caochenlei ~]# yum install -y binutils compat-libcap1 compat-libstdc++-33 gcc gcc-c++ glibc glibc-devel ksh libgcc libstdc++ libstdc++-devel libaio libaio-devel make sysstat unixODBC-devel pdksh java-1.8.0-openjdk*
9、添加新用户 1 2 3 4 [root@caochenlei ~]# groupadd oinstall
10、修改内核文件 1 [root@caochenlei ~]# vi /etc/sysctl.conf
在末尾添加以下内容:
1 2 3 4 5 6 7 8 9 10 11 fs.aio-max-nr = 1048576
更新一下文件以生效:
1 [root@caochenlei ~]# sysctl -p
11、修改用户限制 1 [root@caochenlei ~]# vi /etc/security/limits.conf
在末尾添加以下内容:
1 2 3 4 oracle soft nproc 4096
修改完成后重启服务器:
1 [root@caochenlei ~]# reboot
12、创建安装目录 1 2 3 4 5 [root@caochenlei ~]# mkdir -p /data/oracle/product/11.2.0
13、设置环境变量 切换到oracle用户下:
1 2 [root@caochenlei ~]# su - oracle
在末尾添加以下内容:
1 2 3 4 5 ORACLE_BASE=/data/oracle
更新一下文件以生效:
1 [oracle@caochenlei ~]$ source .bash_profile
14、安装应用程序 这一步需要在虚拟机里进行,因为会弹出窗体程序
1 2 [oracle@caochenlei response]$ cd /usr/local/oracle/database/
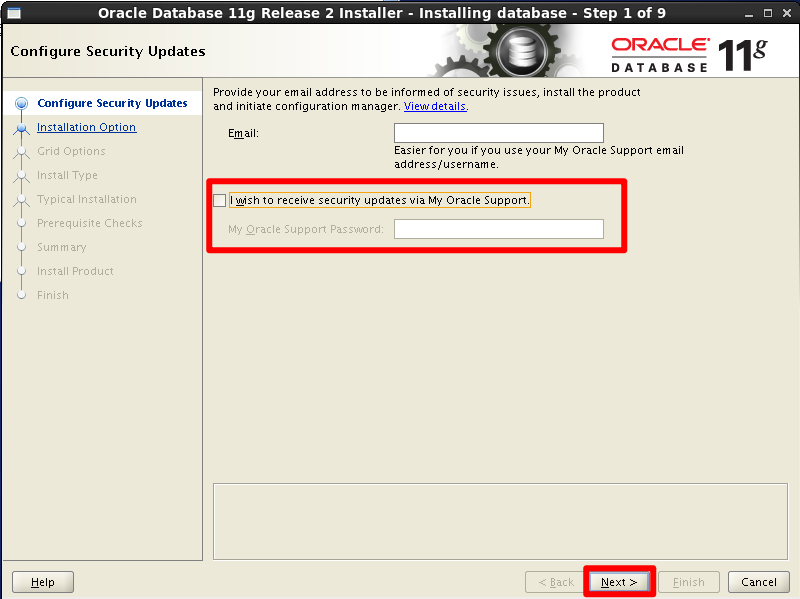
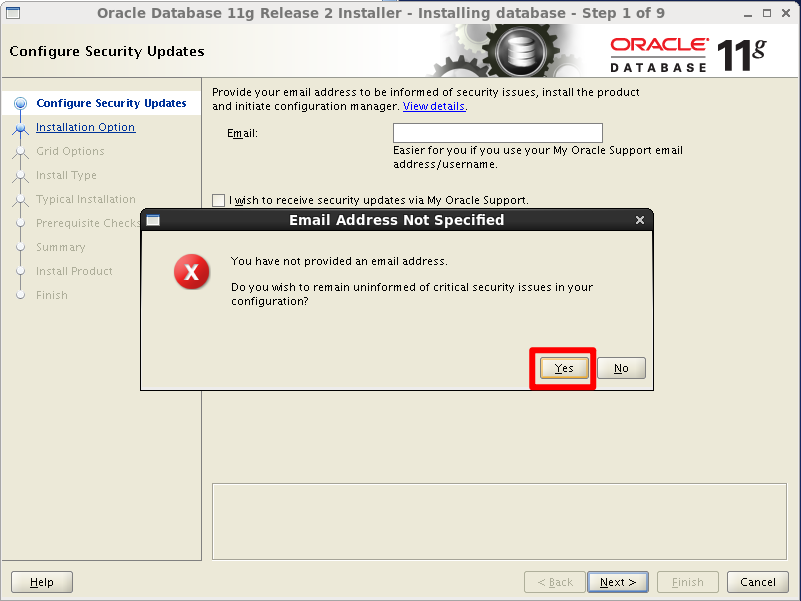
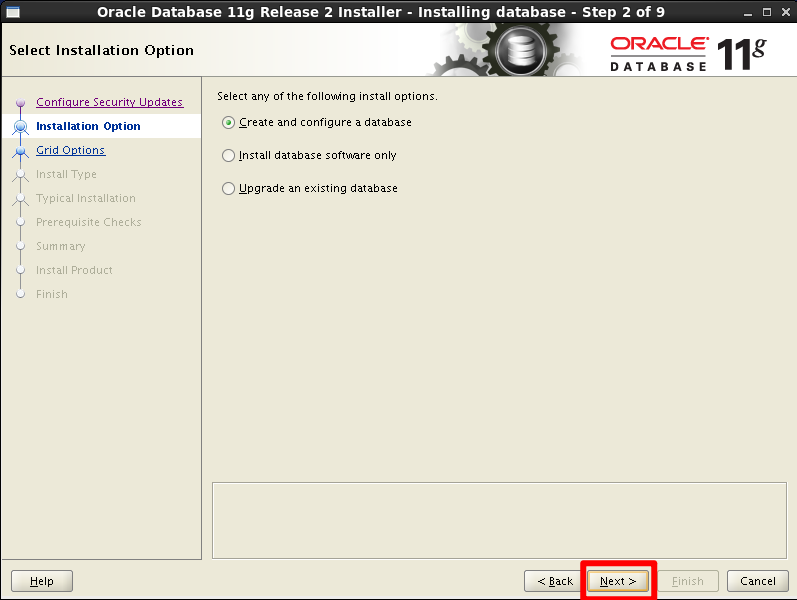
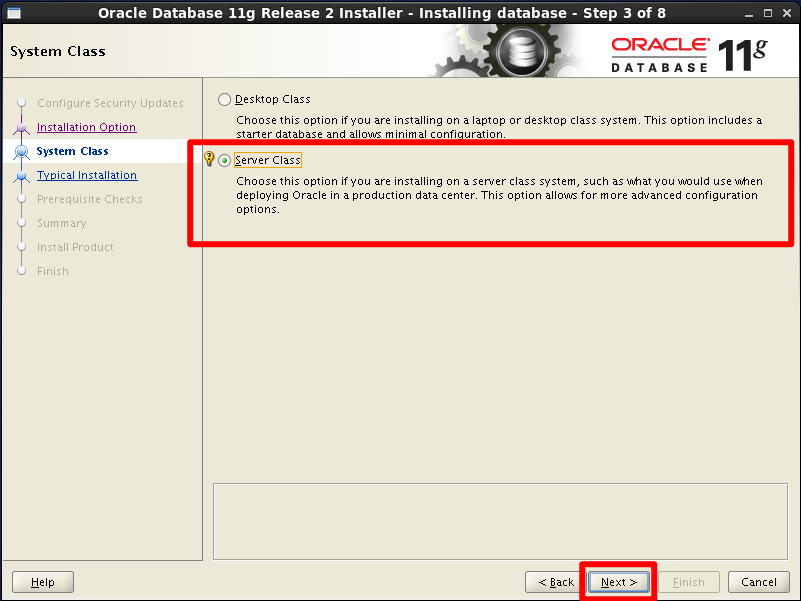
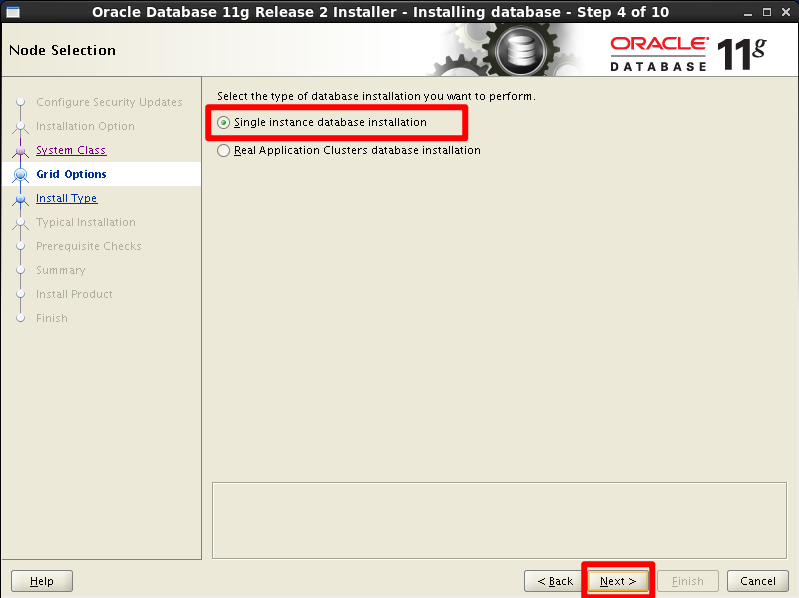
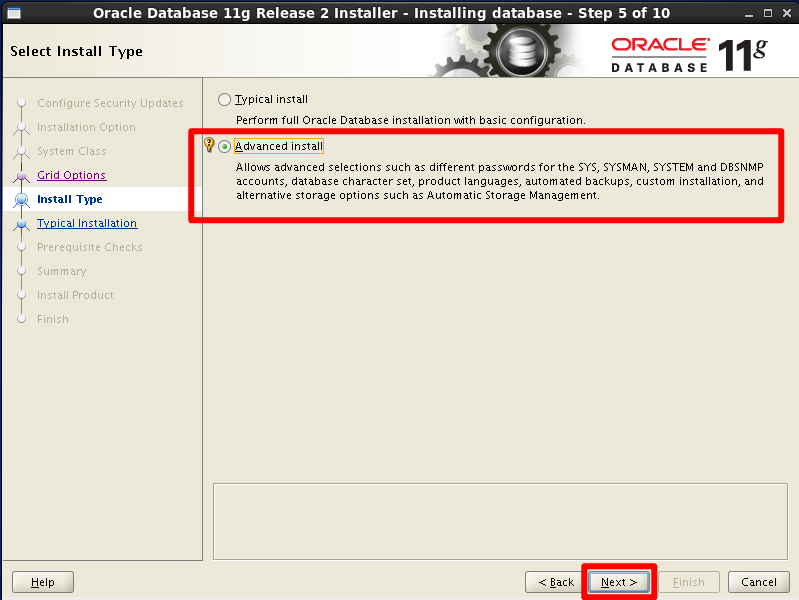
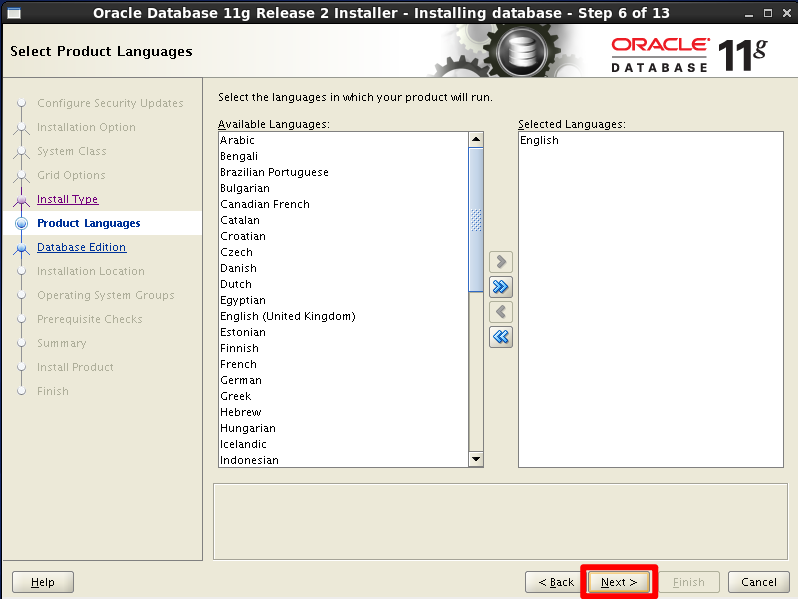
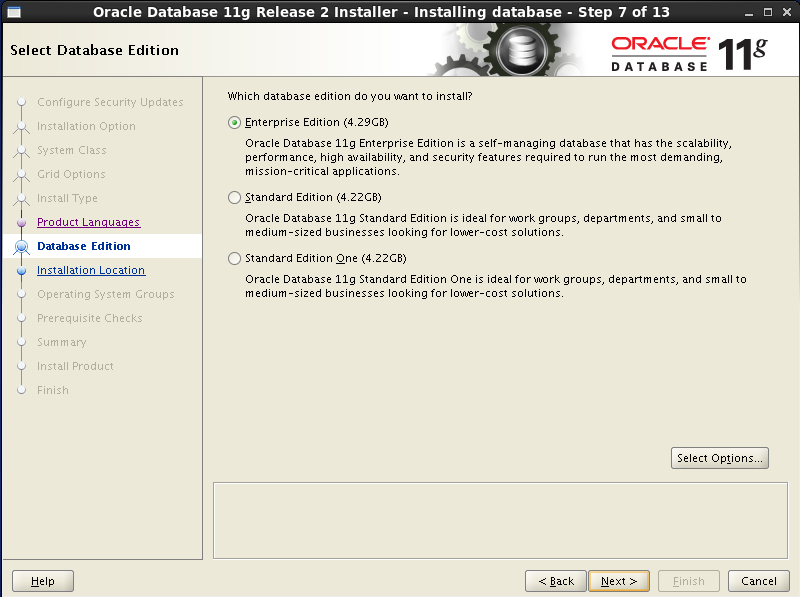
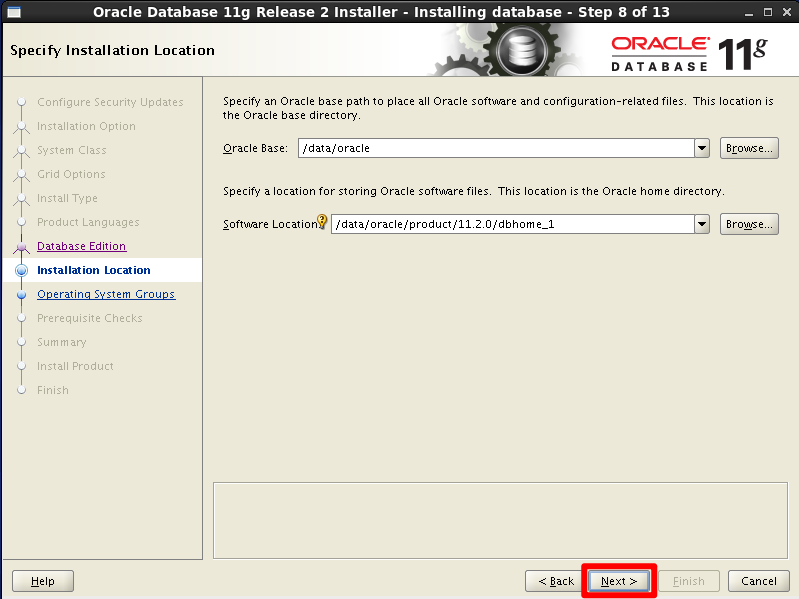
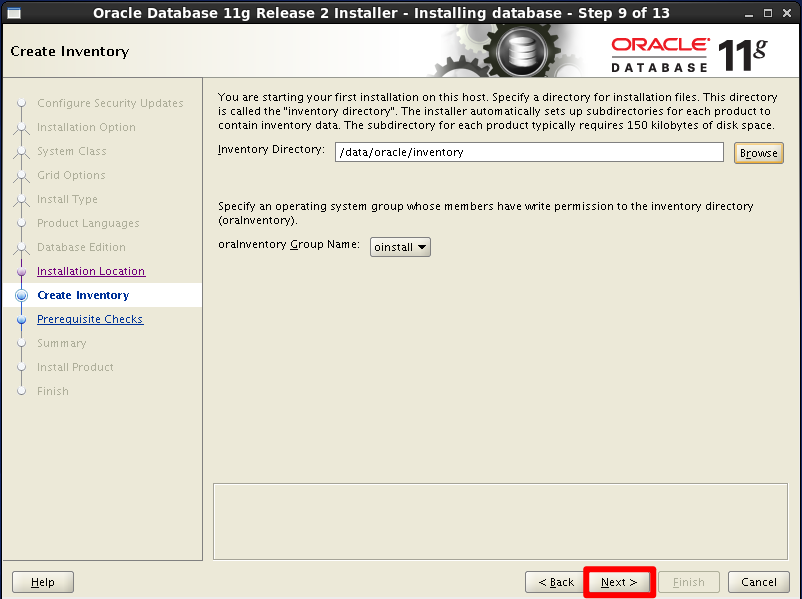
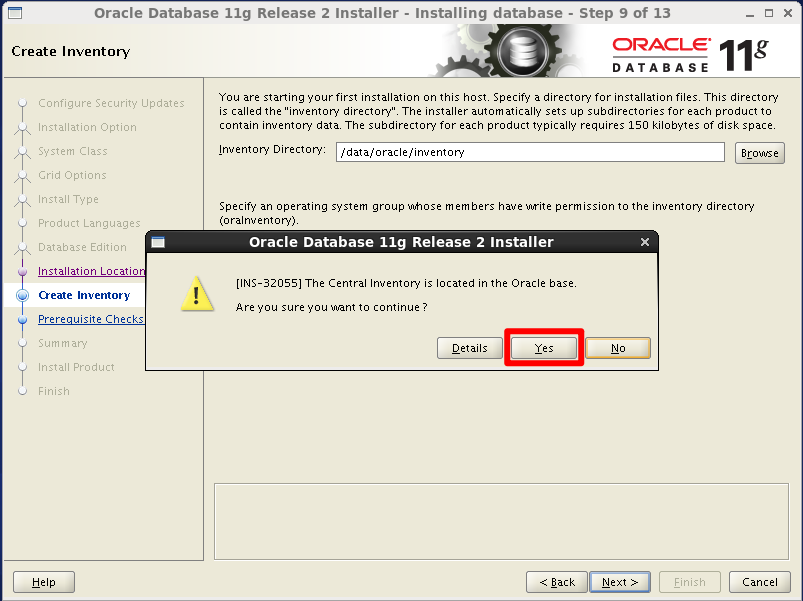
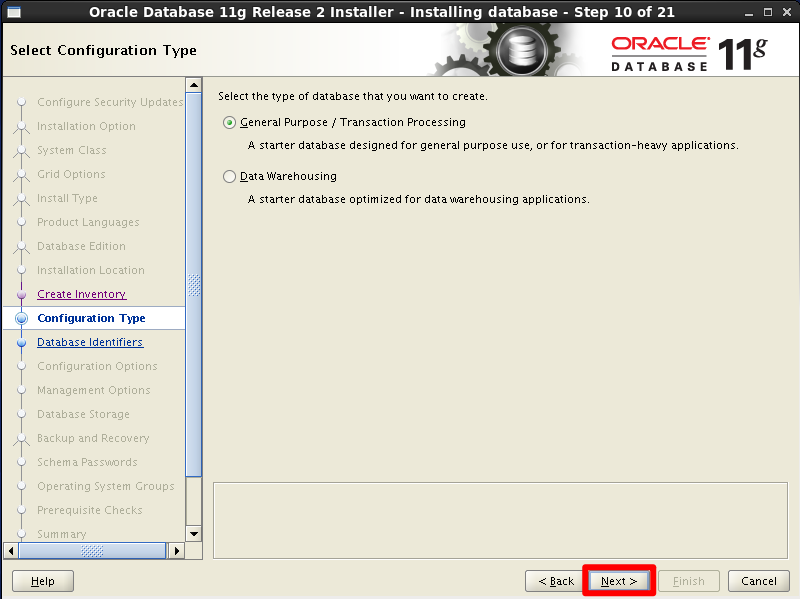
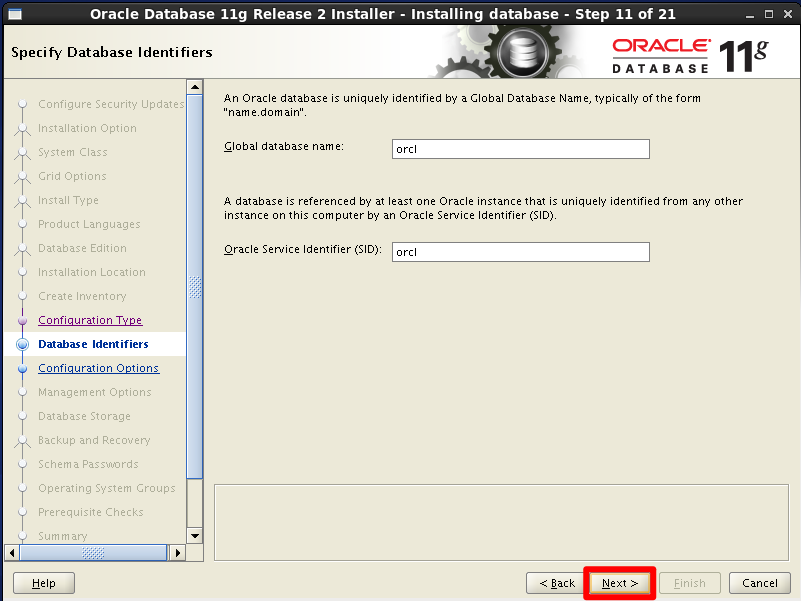
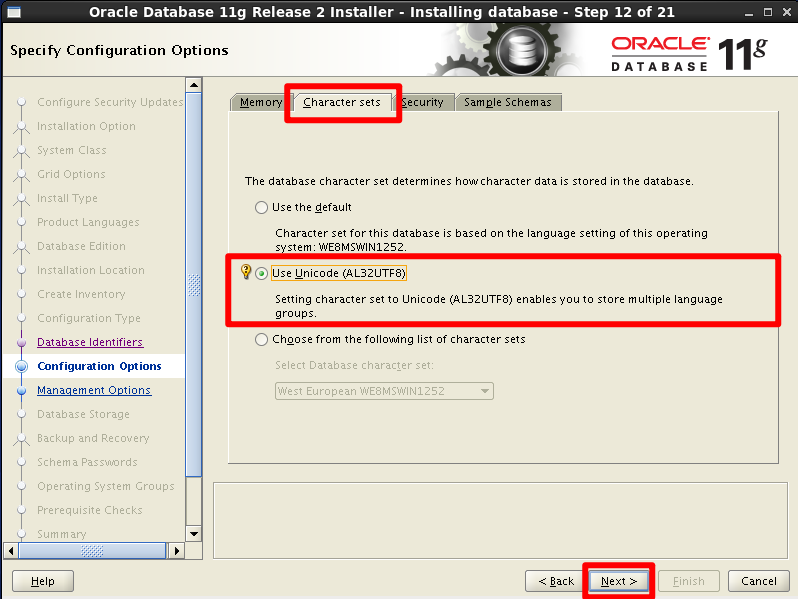
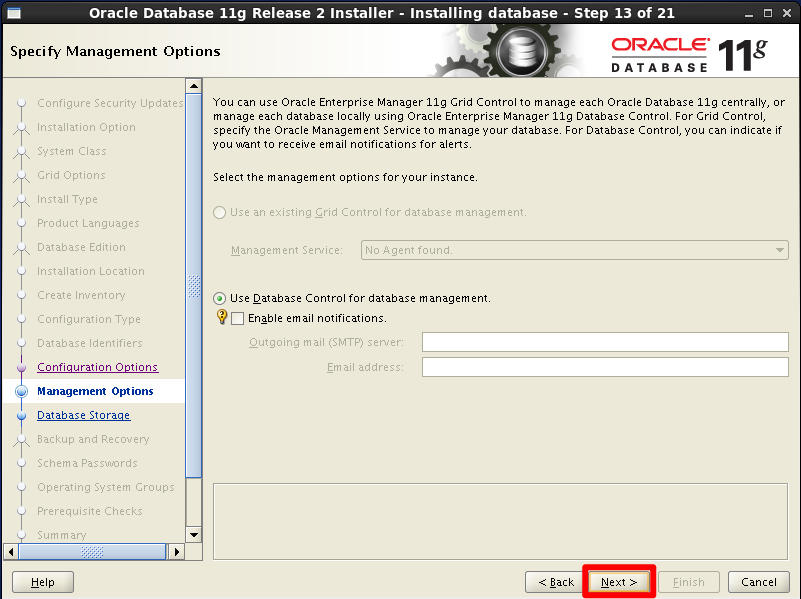
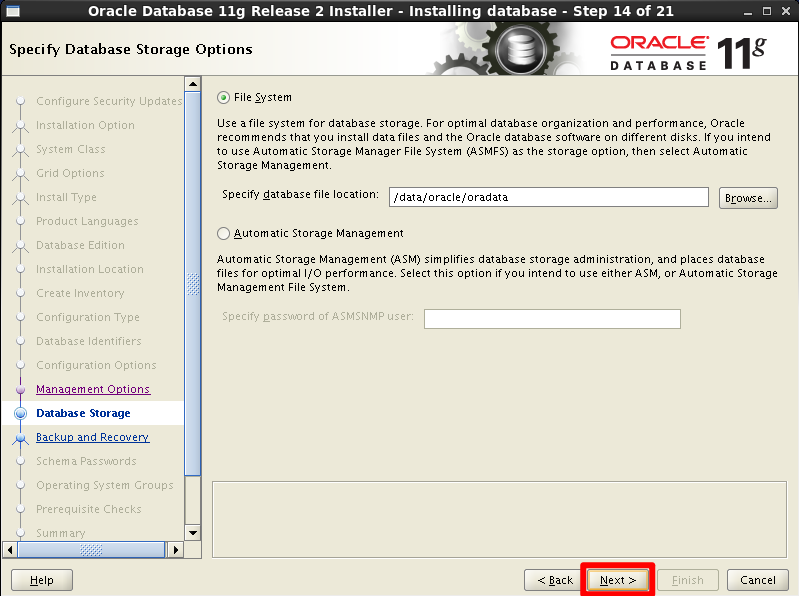
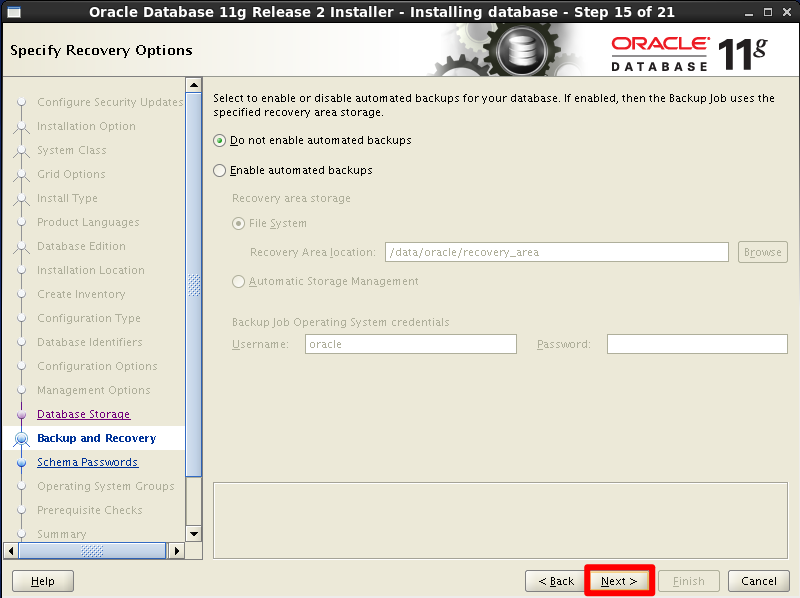
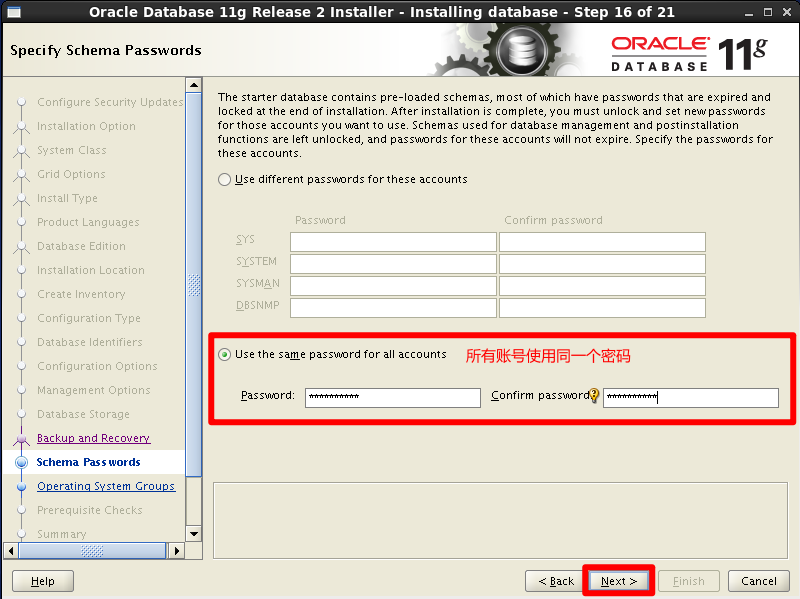
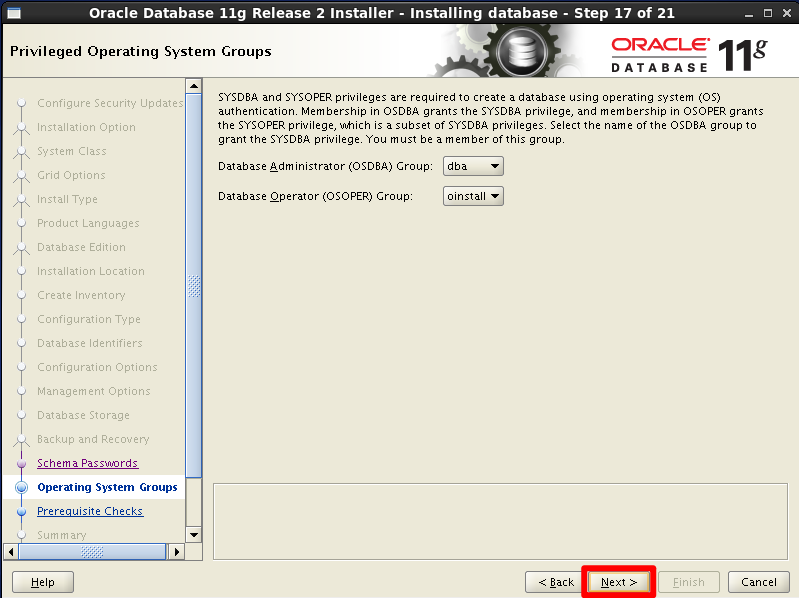
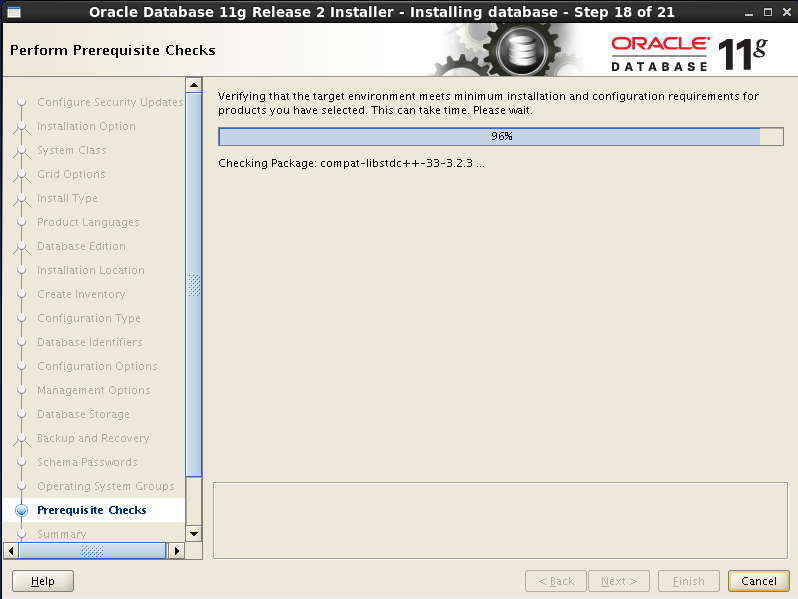
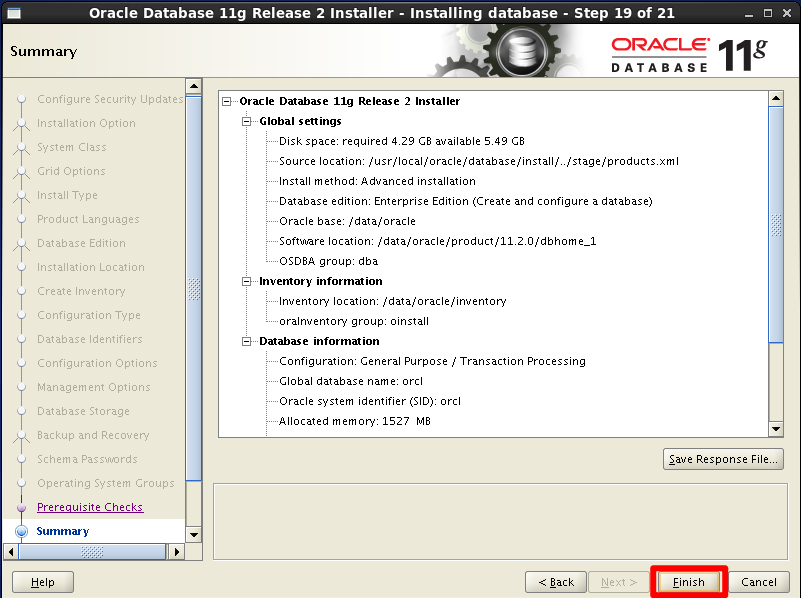
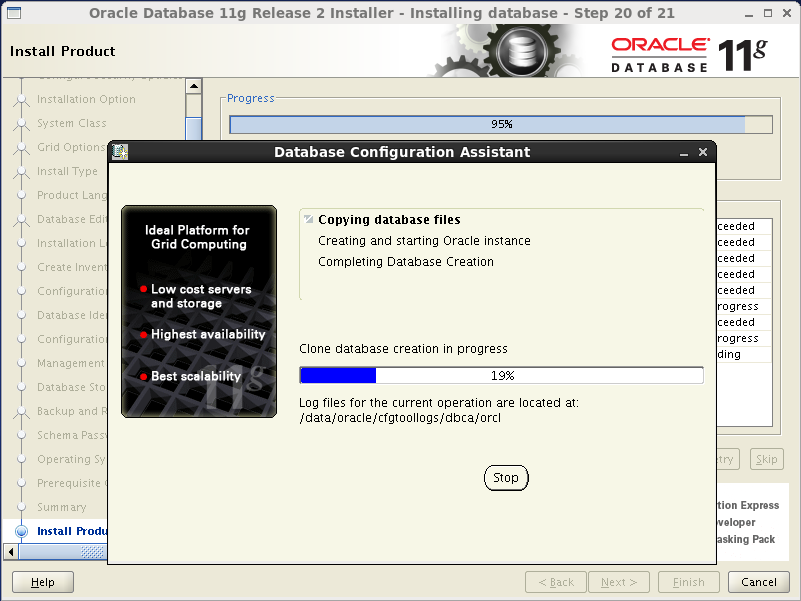
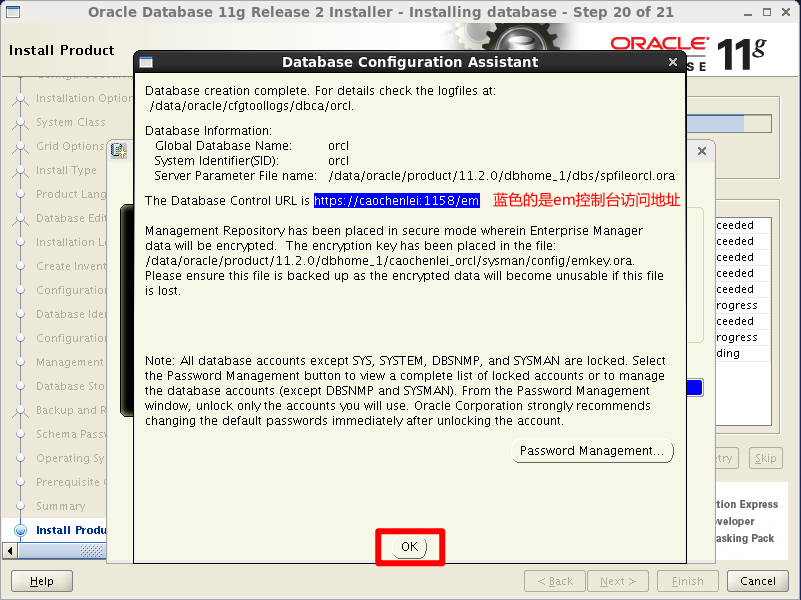
用户安装截图:
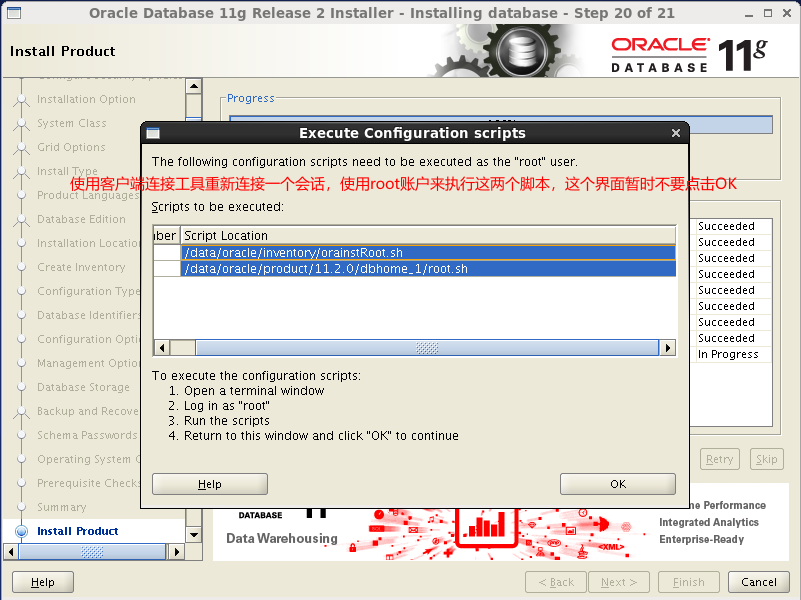
然后提示要执行两个脚本,使用root执行,可以使用SecureCRT重新新建一个连接进行
1 2 3 4 5 6 7 8 9 10 11 12 13 14 15 16 17 18 19 20 21 22 23 24 25 26 [root@caochenlei ~]# sh /data/oracle/inventory/orainstRoot.sh
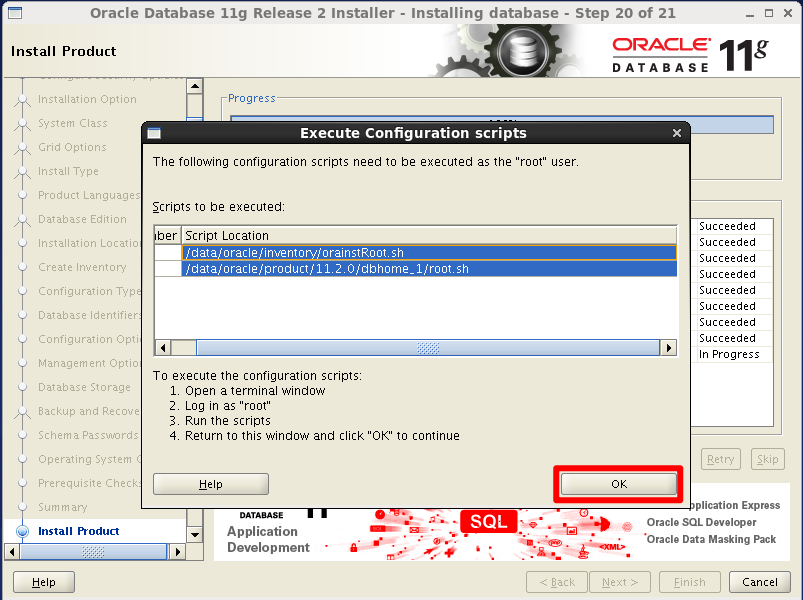
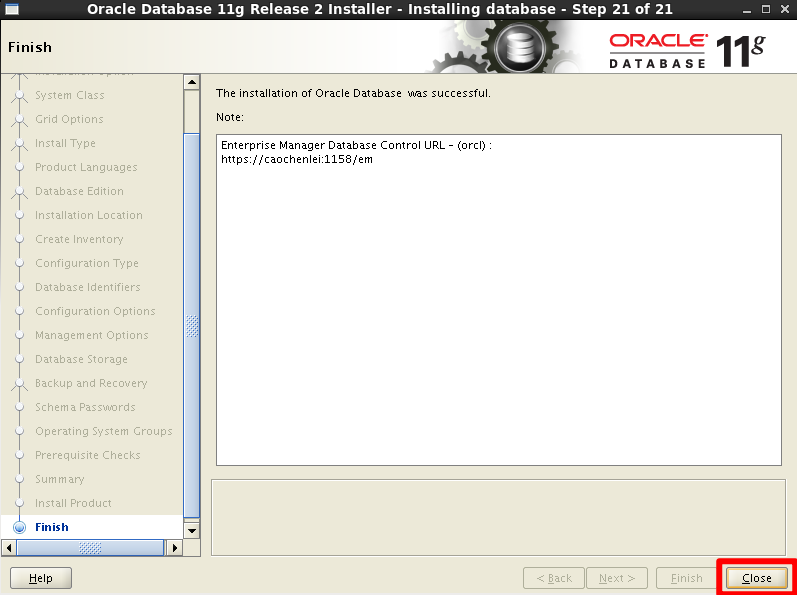
执行完成,点ok,安装成功
